C++
key words here
Change the image

Getting Started with Arduino IDE and C++
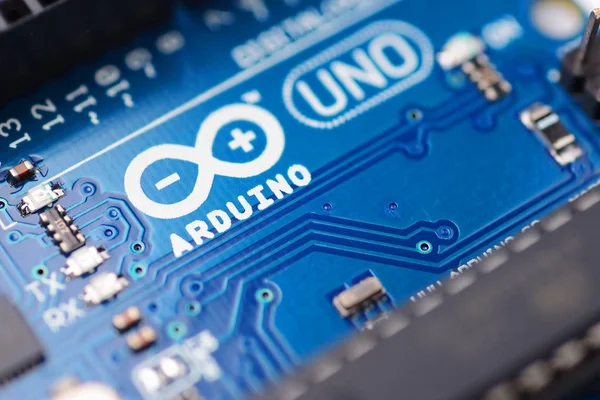
So, you’ve got your Arduino Uno board or ESP32 and you’re ready to dive into the world of electronics and programming. One of the first things you’ll encounter is C++, the primary language used to write code for Arduino projects. If you’re new to programming or coming from another language, don’t worry. C++ on the Arduino is designed to be beginner-friendly, and you’ll be building cool projects in no time.
What is C++ and Why Use It with Arduino?
C++ is a powerful, versatile programming language that’s been around since the early 1980s. It’s used in everything from game development to high-performance computing.
When it comes to the Arduino IDE, C++ is chosen because of its efficiency and control over hardware such as microcontrolers, sensors and motors.
With Arduino, you’re not just writing software; you’re interacting directly with electronic components like LEDs, sensors, and motors. C++ gives you the low-level access you need to manipulate these components precisely.


Setting Up Your Arduino Environment
Before you start writing C++ code, you’ll need to set up your Arduino environment. This involves a few steps:
- Download the Arduino IDE: The Arduino Integrated Development Environment (IDE) is the software you’ll use to write and upload your code to the Arduino board. It’s free and available for Windows, Mac, and Linux.
- Install the IDE: Follow the instructions on the Arduino website to install the IDE. It’s a straightforward process that doesn’t take much time.
- Connect Your Arduino: Use a USB cable to connect your Arduino board to your computer. The IDE should recognize the board automatically, but you may need to install drivers if you’re on Windows.
- Select Your Board and Port: In the Arduino IDE, go to Tools > Board and select your Arduino model. Then, go to Tools > Port and select the correct port for your board.