ESP32 Dev
ESP32 Dev
Getting Started With the ESP32
Welcome to the exciting world of the Espressif ESP32 development board! Whether you’re a seasoned developer or just starting out, this versatile piece of technology offers a wealth of possibilities for your projects.
From IoT applications to WiFi and Bluetooth connectivity, the ESP32 has you covered. Using the Arduino IDE, you’ll find it easy to program and bring your ideas to life. In this guide, we’ll explore everything you need to know to get up and running with your ESP32 development board.

What is the ESP32 Developement Board?
Overview of the ESP32
The ESP32 is a powerful and feature-rich microcontroller board created by Espressif Systems. It’s the big brother to the ESP8266, and it comes packed with a dual-core processor, integrated WiFi, and Bluetooth capabilities. This makes it an ideal choice for a wide range of applications, from simple hobby projects to complex IoT systems.
Key Features
- WiFi and Bluetooth Connectivity: The ESP32 boasts both WiFi and Bluetooth, making it incredibly versatile for wireless communication. Whether you’re building a smart home device or a remote sensor, the ESP32 can handle the job.
- Dual-Core Processing: With its dual-core architecture, the ESP32 offers impressive performance. You can run tasks in parallel, which is particularly useful for more demanding applications.
- Extensive I/O Options: The board includes a variety of input and output pins, allowing you to connect a wide range of sensors, actuators, and other peripherals.
- Low Power Consumption: Designed with power efficiency in mind, the ESP32 is perfect for battery-powered applications.
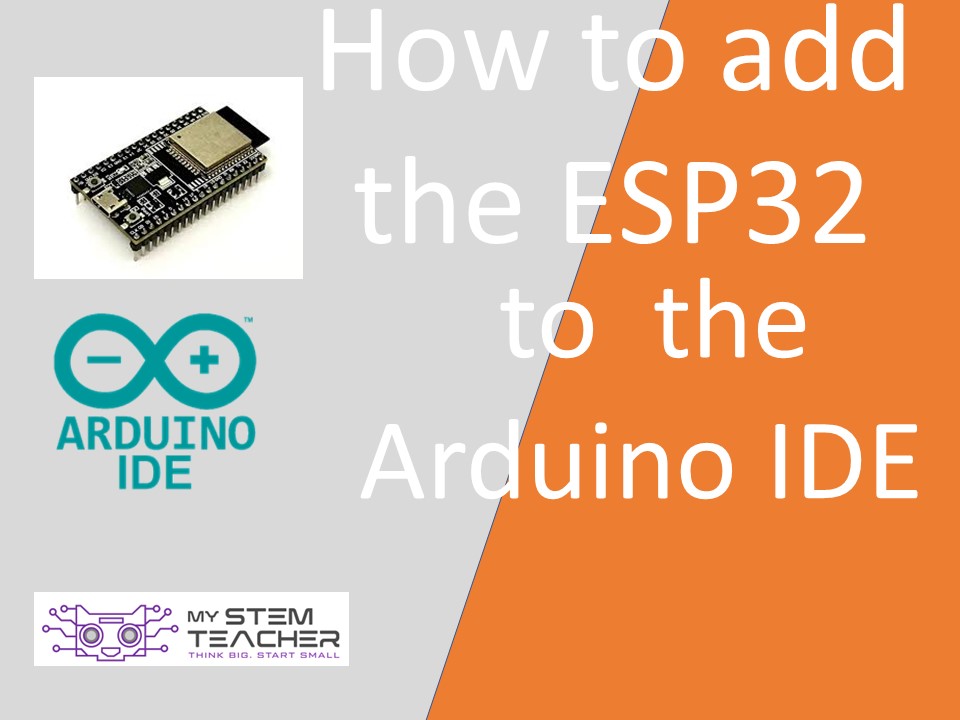
Video: Adding the ESP32 to Arduino IDE
Installing the ESP32 Board in Arduino IDE
Alright, so you’ve got your Espressif ESP32 development board, and you’re eager to dive into some exciting projects. One of the best tools to get you started is the Arduino IDE.
It’s user-friendly and perfect for both beginners and experienced developers. Let’s walk through how to get your ESP32 up and running with the Arduino IDE.
Setting Up the Arduino IDE
First things first, you need to have the Arduino IDE installed on your computer. If you haven’t done that yet, head over to the Arduino website and download the latest version. Installation is straightforward, just follow the prompts for your operating system.
Once installed, you’ll need to add ESP32 support to the Arduino IDE. Don’t worry, it’s easier than it sounds:
- Open the Arduino IDE: Fire up the Arduino IDE on your computer.
- Preferences: Go to
File > Preferences. In the window that opens, look for the field labeledAdditional Boards Manager URLsand paste this URL:https://dl.espressif.com/dl/package_esp32_index.json. This tells the Arduino IDE where to find the ESP32 package. - Boards Manager: Next, go to
Tools > Board > Boards Manager. In the search bar, type “ESP32” and install the package provided by Espressif Systems.
Writing Programs for the ESP32 Using C++ and Functions
When programming your ESP32 development board using the Arduino IDE, you’ll primarily use C++. This language is powerful and flexible, allowing you to create complex and efficient programs. Let’s dive into the key concepts of writing programs for your ESP32 using C++ and functions, without diving into specific examples.
Understanding the Basics of C++
C++ is a high-level programming language that builds on the foundations of C. It adds object-oriented features, making it well-suited for managing complex applications. Here’s a brief overview of some C++ basics that are essential when working with your ESP32:
- Variables: Variables store data that your program can manipulate. They have different types, such as integers (
int), floating-point numbers (float), and characters (char). - Control Structures: These include if-else statements, for loops, while loops, and switch cases, which control the flow of your program based on conditions and iterations.
- Functions: Functions are blocks of code that perform specific tasks. They help in organizing your code, making it modular and easier to debug.
- Libraries: Libraries are collections of pre-written code that provide additional functionality, such as handling WiFi connections or controlling sensors.
Organizing Your Code with Functions
Functions are fundamental to C++ programming. They allow you to break down your code into smaller, manageable pieces, each performing a specific task. This modular approach makes your code more readable and maintainable.
Here’s how you can think about functions in your ESP32 programs:
- Setup and Loop Functions: In the Arduino environment, you’ll always define two main functions:
setup()andloop(). Thesetup()function runs once at the start, used for initializing variables, pin modes, and libraries. Theloop()function runs continuously, allowing your program to keep checking and updating as needed. - Custom Functions: Besides
setup()andloop(), you can create your own custom functions to handle specific tasks. For example, you might have functions to read sensor data, process that data, and then take some action based on the results.

IoT with ESP32 & Blynk APP
Great question! The Arduino IDE is considered “integrated” because it brings together all the essential tools and features you need for programming and developing projects with Arduino boards in one cohesive software package. It’s like having a complete toolkit right at your fingertips!
When we say “integrated,” we mean that the Arduino IDE combines everything you need into a single program. It includes a code editor where you can write and edit your code files, a compiler that translates your code into a language the Arduino board can understand, and an uploader that sends your compiled code to the board.
But that’s not all! The Arduino IDE goes even further by providing additional features that make your programming experience smoother. It includes a serial monitor, which allows you to communicate with your Arduino board and monitor the data being sent or received. This is super handy for debugging and troubleshooting.
Moreover, the IDE integrates a library manager, which simplifies the process of adding extra functionalities to your projects. It lets you easily browse and install libraries developed by the Arduino community, saving you time and effort.
So, in a nutshell, the Arduino IDE is considered “integrated” because it combines all the necessary tools – code editor, compiler, uploader, serial monitor, and library manager – into a single software package. This integration streamlines the development process, making it easier and more convenient for you to write, compile, and upload code to your Arduino board. It’s like having a one-stop solution for all your Arduino programming needs!